Cold Blacking Zinc

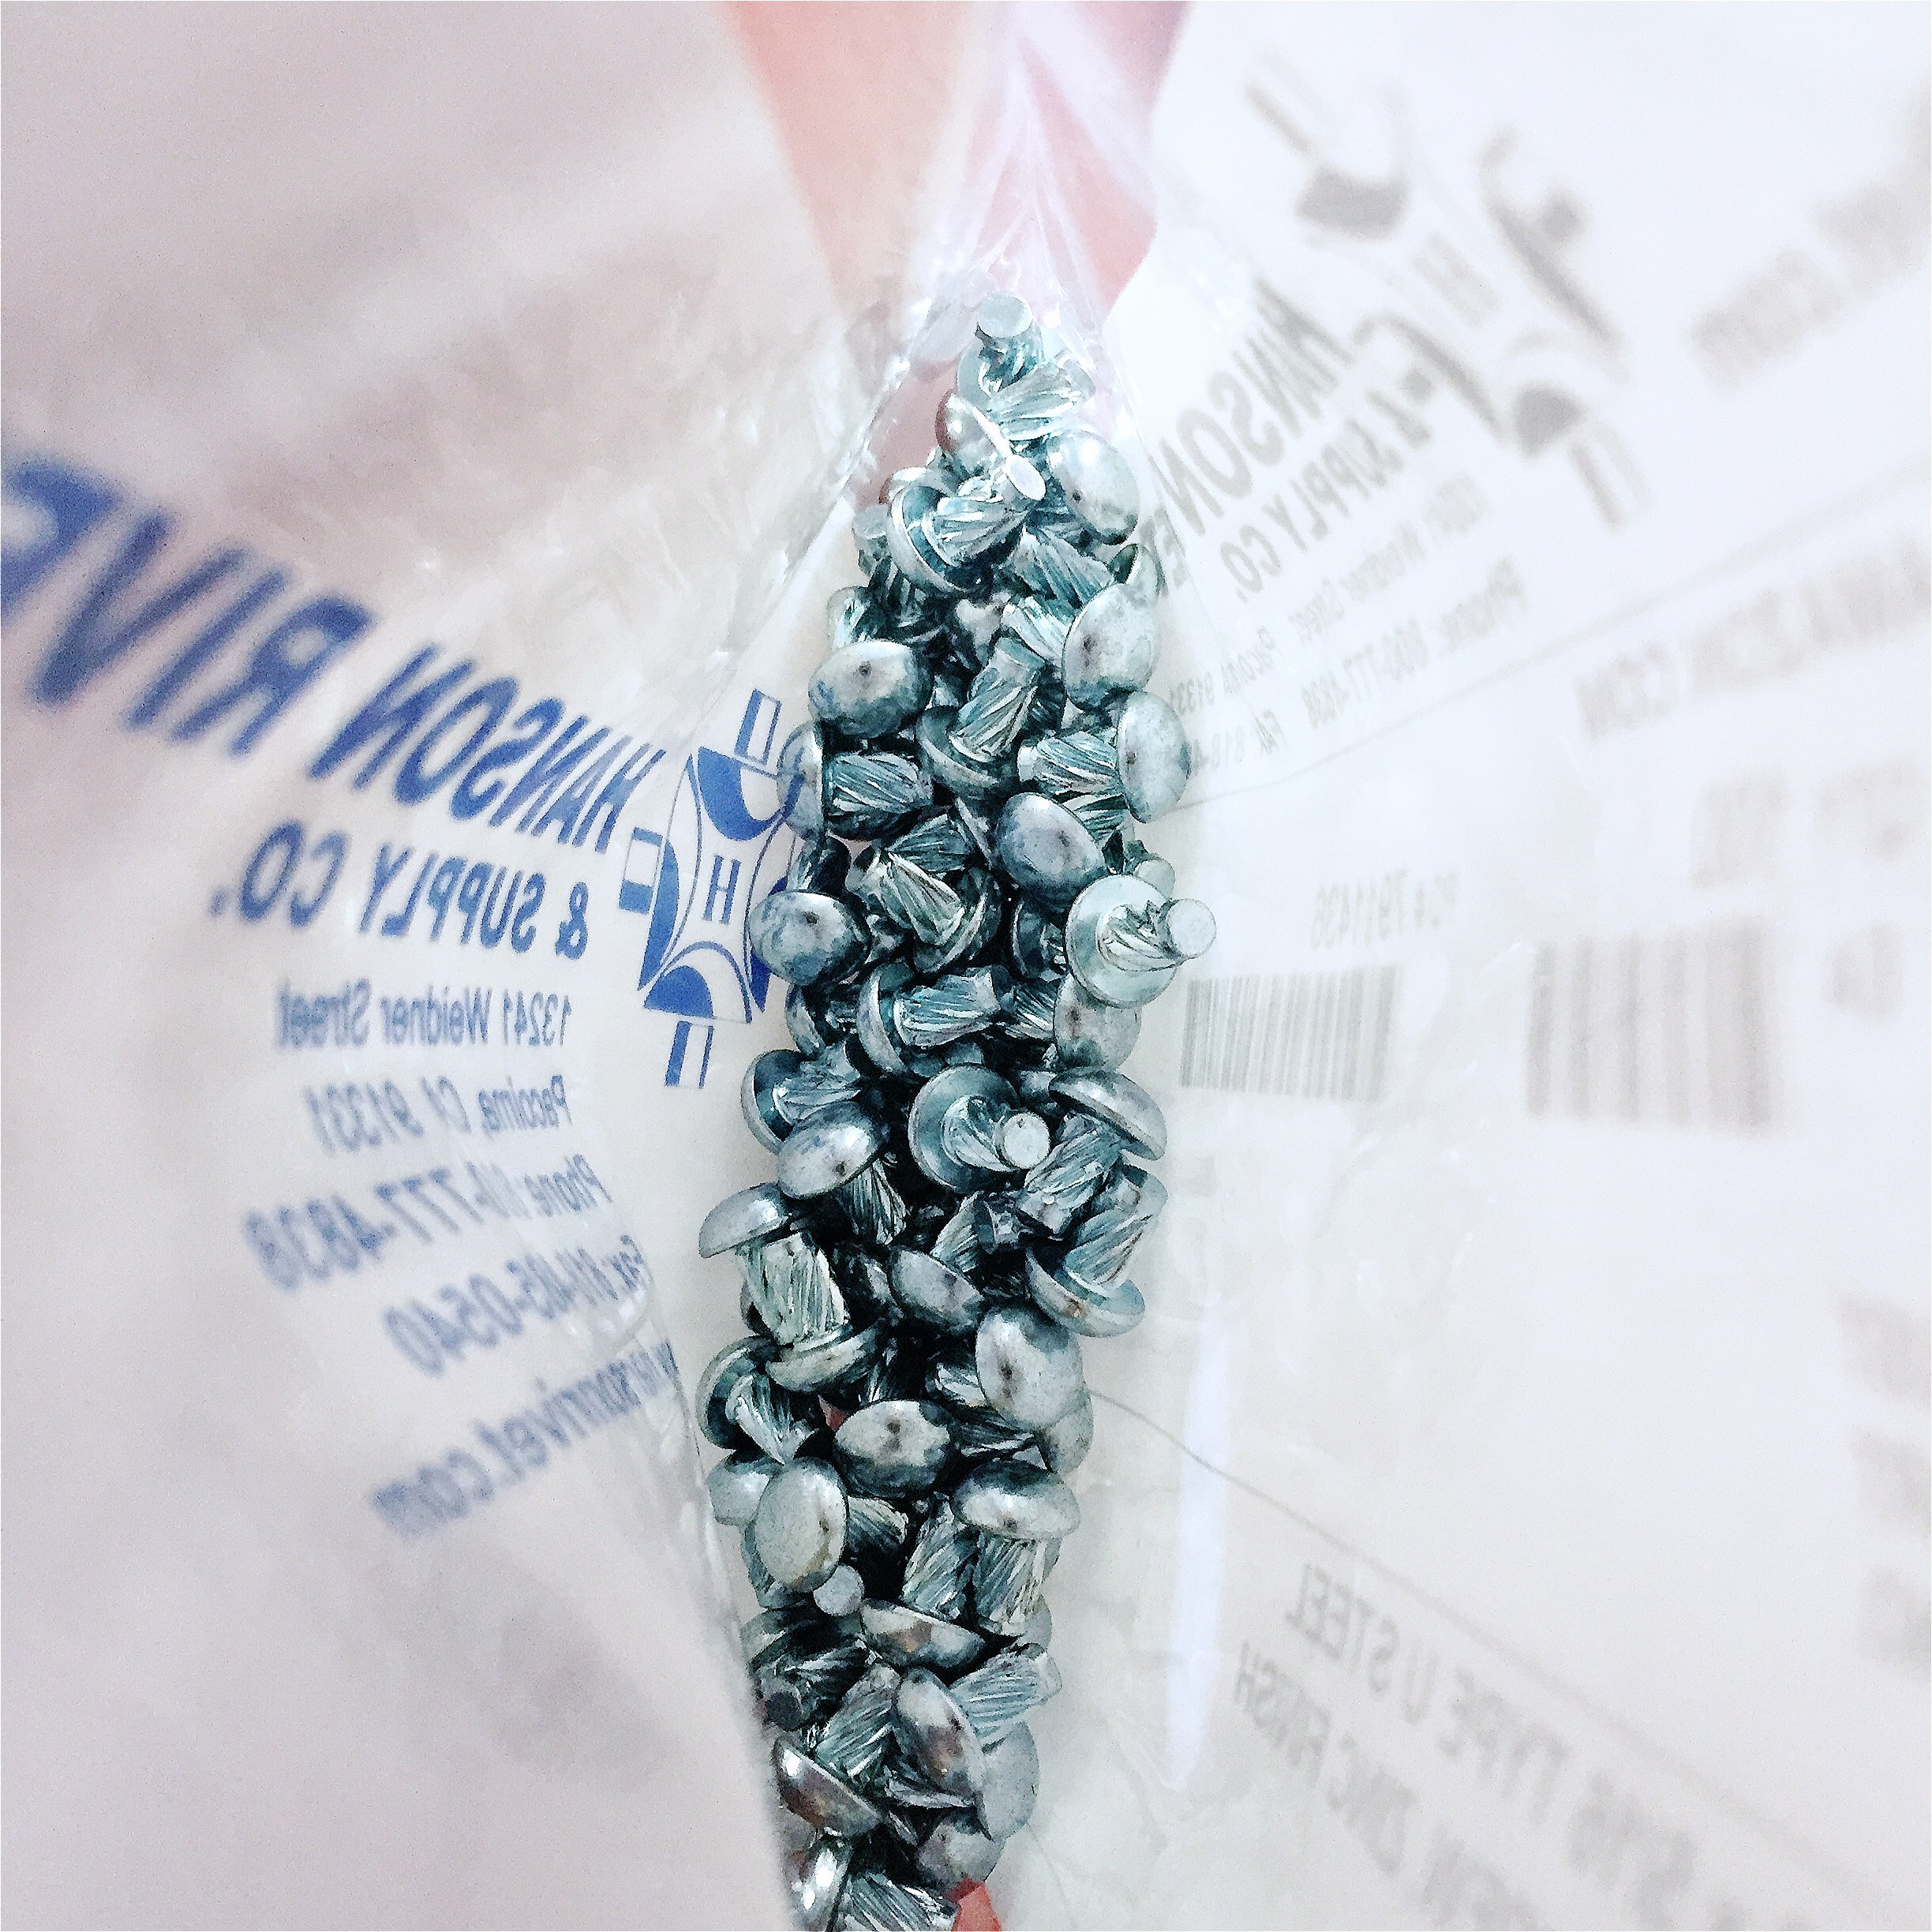
Recently, while working on a table, I needed some drive screws. Drive screws are actually rivets that have a loose spiral threading allowing them to be tapped in blind with a hammer. They can be difficult to source sometimes, but I eventually found some and ordered two bags, each of a different size rivet. The problem happened when I realized I had only ordered bright zinc plated rivets.  


I love the look of raw unpainted steel.  It’s subtle coloring variation is hard to mimic with paint.  Well worn steel is especially nice, its red rust giving way to a natural black oxide coating in turn giving way to the shine of freshly ground and polished edges and joints. It is this coloration I try to preserve in my work. Zinc plating is pretty much the opposite as while it serves a purpose in corrosion prevention, that is not what I am looking for at this time.  

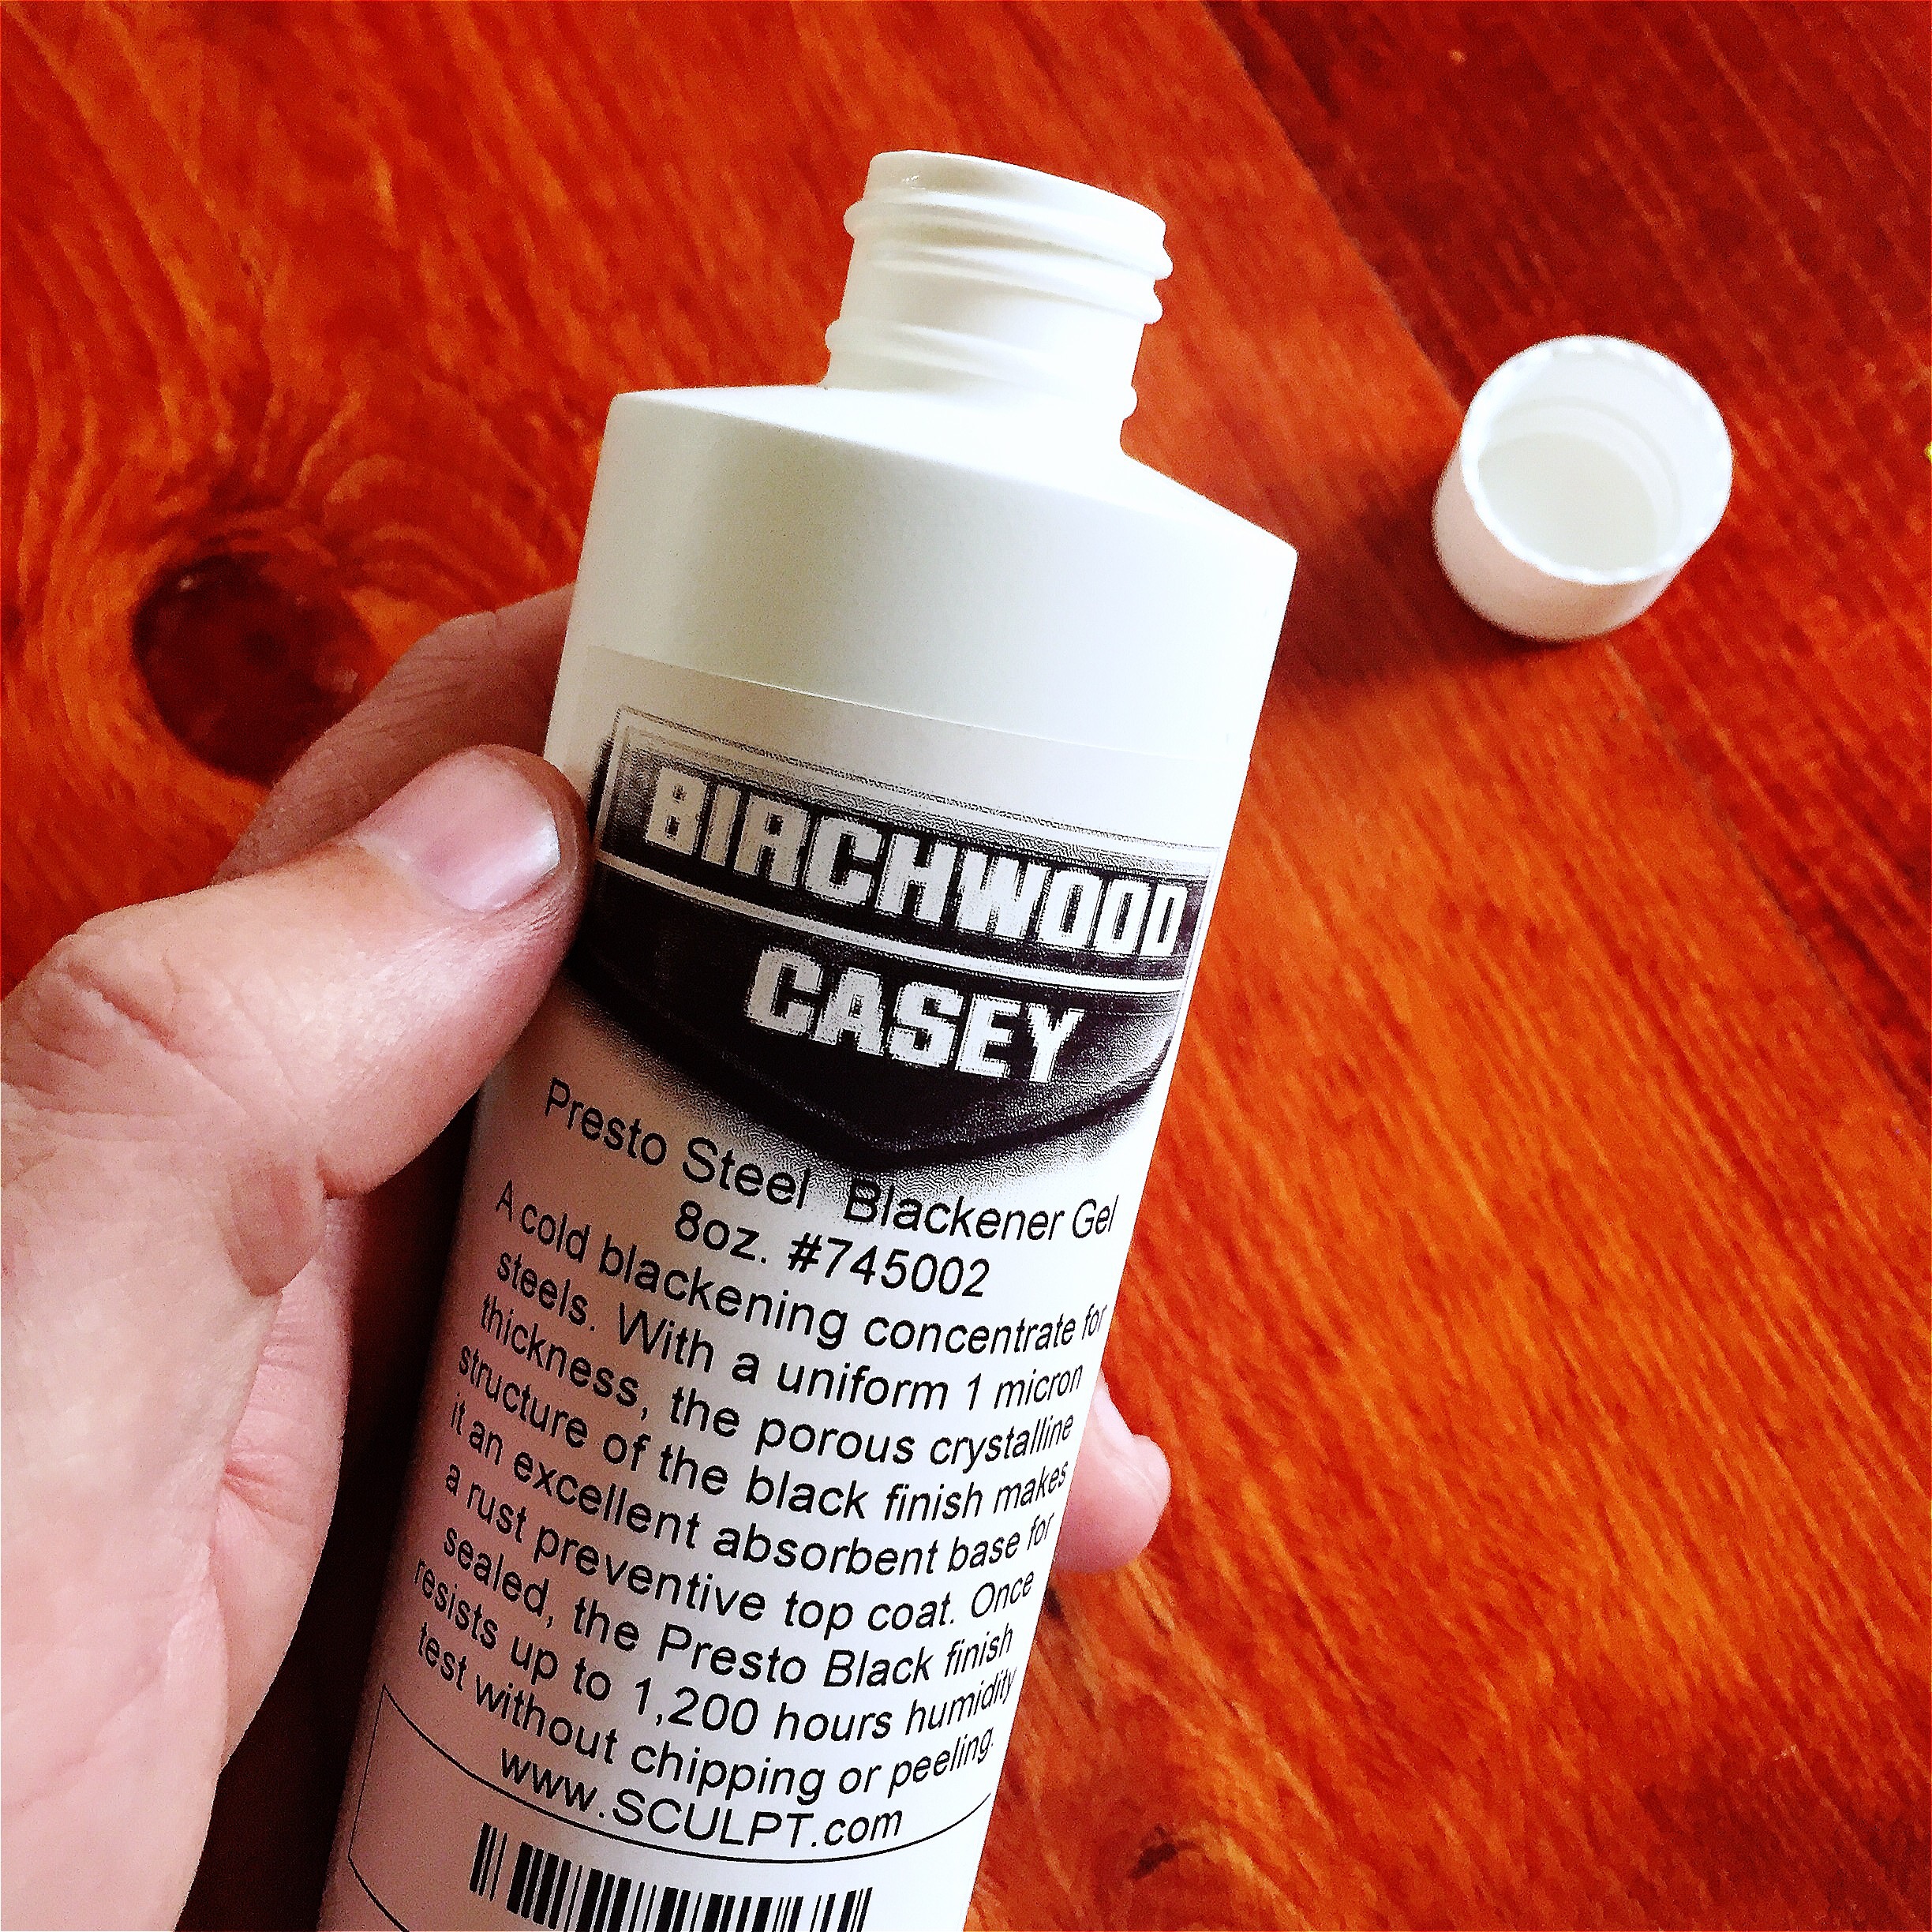
So the solution is cold blacking. And it worked great.  I used Birchwood Casey brand Presto Blackener gel. 


Here is the process.  I actually remembered to take photos as I went too.  

I figured the bag the rivets came in would serve perfectly well as a marinade container. 


I used maybe a cap full and it was probably still too much. The reaction is fast. You can actually watch the color transition. I sealed the bag and shook it around, mixing the gel around the hundred or so rivets in the bag.  After maybe 60 seconds, they looked well blackened. 


As I said before I probably used too much.  Luckily I had a second bag of smaller drive screws and my OCD is not strong enough to prevent me from mixing the two sizes to make use of the extra gel.


Didn’t spill a single river while pour the second bag into the first and using my other hand to take the photos. 


This shows the great difference in color between the blackened and the zinc. Keep in mind this is a chemical reaction and not a paint.  The thickness of the coating is measured in single digit microns, meaning it is essentially on dimensional. 


After mixing in the second bag of drive screws and mixing everything well. I flushed the bag with tap water to stop the reaction and remove any risidual gel before I laid them out on a red shop rag to air dry.

How to Cut a Propane Tank in Half Without Dying

Disclaimer:  This is potentially dangerous and can result is serious injury or death. This article is for entertainment purposes only. Do not try this at home. Go somewhere else.

At one point in time or another everyone wants to cut a propane tank in half.  The problem is a propane tank is a pressure vessel filled with flammable gas under pressure and even empty bottles still contain some amount of propane and/or flammable chemical residue.

Things you will need:

  • Empty 5 Gallon Propane Tank
  • Wood or Rubber Mallet or Non-Sparking Hammer (Brass, etc.)
  • Scrap wood (~12″ long 2×4 works fine)
  • Penetrating Oil (PB Blaster etc.)
  • Garden Hose (or other water source)
  • Metal Cutting Tools (Angle Grinder, Plasma Torch, etc.)
  • Personal Protective Equipment (Eye/Face Protection, Gloves, Appropriate Clothing etc.)

Even though there is a disclaimer at the top of the article stating this is for entertainment purposes only, I would like to reiterate that this is a potentially dangerous task and that any and all safety precautions should be taken.

Step 1:

Get your old propane tank and open the valve.  There may be some gas under pressure left in the bottle and we want to relieve any pressure present inside the tank.  Let it sit with the valve open for a few minutes.

Step 2:

Remove the valve at the top of the bottle by using the piece of scrap wood and the mallet to lightly tap the side of the valve assembly counter-clockwise to the left. It may take some penetrating oil if the valve is rusted in place. Once the valve is loosened it can be unscrewed and the valve assembly can be removed from the tank.

Step 3:

Now that you have the bottle open and the valve removed you may smell the remnants of propane left in the bottle. Propane is heavier than air and there will be propane present in the bottle even after pressure has been relieved.

Fun Fact: Propane itself is odorless and the smell is added to notify people of the presence of the gas.

So this is a very important step in the process.  In order to purge any existing propane from the bottle we are going to fill the bottle with water. This will displace any remaining gas in the tank.

I chose to let the tank sit full of water for a few days before I drained it. This may help to wash away any residue left on the inside of the tank by the propane. you may also choose to only partially drain the tank before cutting it, but will want to drain the water to a level below where you plan to cut the tank.

Step 4:

Now we get to cut.  I used my plasma torch to quickly sever the top dome from the tank, though any method of cutting metal should work. Other methods include angle grinders, reciprocating saws, and gas torches.

What you plan to use your tank for will determine what shape you cut in the tank and where in the tank you cut it. I for instance created a very small fire-pit from my tank while I have seen people pack the tanks with fire blankets and to create a small forge or use the tank as a BBQ smoker.

Have fun. Be safe.